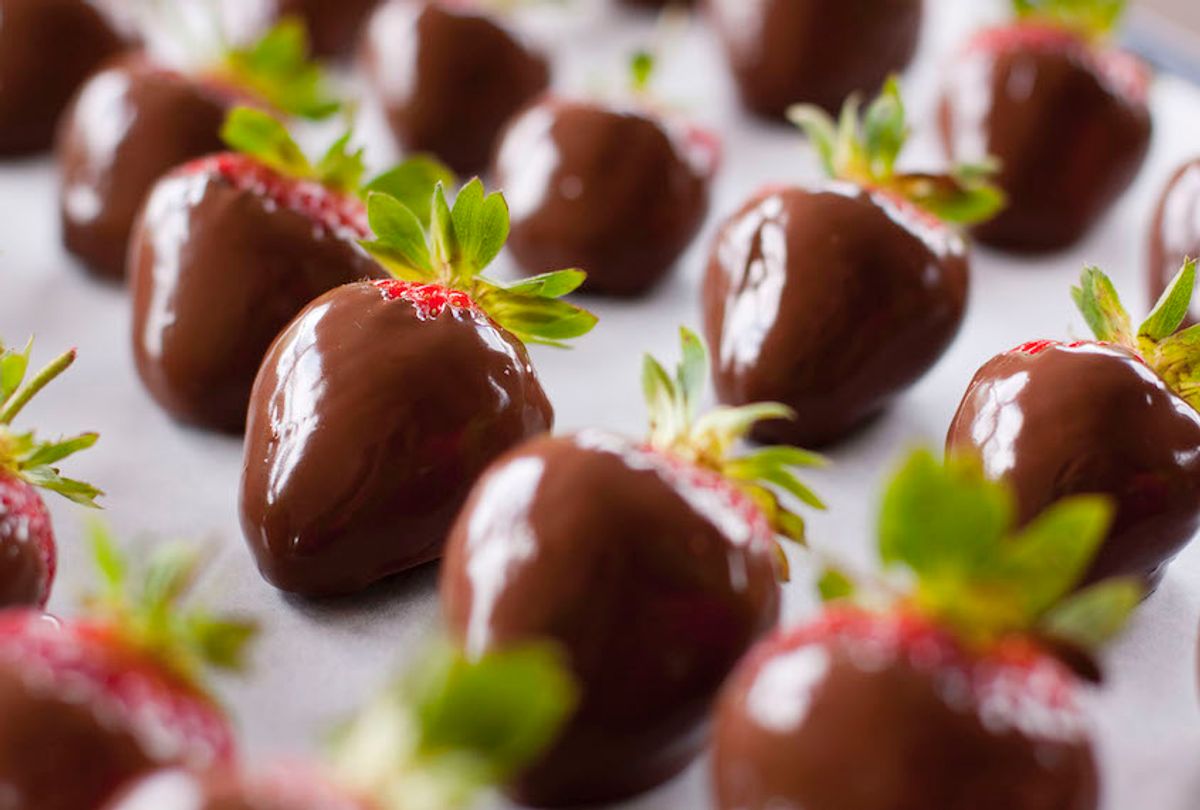
You're feeling fancy, romancey. What better way to communicate this to your lover self than homemade chocolate-covered strawberries—to be enjoyed in the bath while Dolly Parton casually breaks into song?
Though covering anything in chocolate is truly as simple as it is outwardly impressive, keeping the chocolate coating on just the berries (and not your counter, apron, cabinets) is actually kind of hard. Here are some tips and tricks to ensure your melt-dip-set doesn't result in chocolate-covered everything.
1. Line a baking sheet with wax or parchment paper.
When doing any kind of chocolate/confection work, I always make a point of establishing and organizing the battle stations well before dirtying my hands. Line your largest baking sheet with a sheet of parchment or wax paper, and place this on the right-hand corner (or left — up to you) of your counter. The bowl of melted chocolate will go in the middle, and your washed berries will be at the far-left or right (if you've swapped the order). This way, you can work efficiently (melt, dip, set) from right-to-left or left-to-right, minimizing those drippy messes.
2. Wash and dry your strawberries well.
Wash your berries well, and gently, but thoroughly dry them off with a towel. No one likes biting into a gritty berry, or a chocolate-covered soggy berry.
3. Choose your chocolate adventure.
While there's little to argue on what type of chocolate to use (a high-quality, complex, and tasty choco you'd be happy to snack on), how you melt it down depends entirely on you—and how hard you want to try. Regardless of the melting method you choose, the action is the same: grab a strawberry by its green top; dip straight down into the melted chocolate, and pull straight up. Let any excess chocolate drip off, then set the berry on its side on the lined sheet. If you want to decorate with a drizzle, melt extra (or a different) chocolate in a second bowl.
Least effort: Ganache
Melting 1 part chopped chocolate down with 1 ½ parts heavy cream keeps the coating silky and easy to work with, but be warned: the coating won't ever set to a crisp. This method is for you, if you're like Big Little Recipes columnist, Emma Laperruque, who really despises the way "the shell breaks apart and then you have these chocolate chips and a soggy naked strawberry." Heat the cream in a small saucepan until steamy and tiny bubbles form around the edges of the pan. Kill the heat, add the chocolate, let sit for 30 seconds, then whisk to combine.
Medium effort: Magic shell
If you like the snap of tempered chocolate, but can't be bothered with tempering chocolate, coconut oil is your new best friend. Its low melting point will lend a pseudo-tempered-chocolate snap to your coating, especially after a stint in the fridge.
Most effort: Tempered chocolate
This method is for people who like taking perfectly-fine things apart, just to put them back together again. Tempering is a tedious — but not at all impossible! — process where you heat chocolate only to 91-92 degrees (or heat to a higher temperature, then carefully cool) to ensure only the good and glossy cocoa butter crystals (beta crystals) form.
4. Decorate!
Now — when the coating is not yet set — is when to decorate, if desired.
Chocolate drizzle: dip a fork into melted chocolate, and wave it back and forth over the dipped berries on the sheet.
Nutty crust: dip coated berries into a bowl of toasted, finely chopped nuts.
Flaky salt: a simple, elegant option. But, if you'd like to do this, don't salt until just before serving, or the crystals of salt will do freaky things to your chocolate coating.
Let set the coated and crusted berries set completely — on the baking sheet — in the fridge for at least 30 minutes. Keep refrigerated until ready to serve, or for up to two days.


Shares