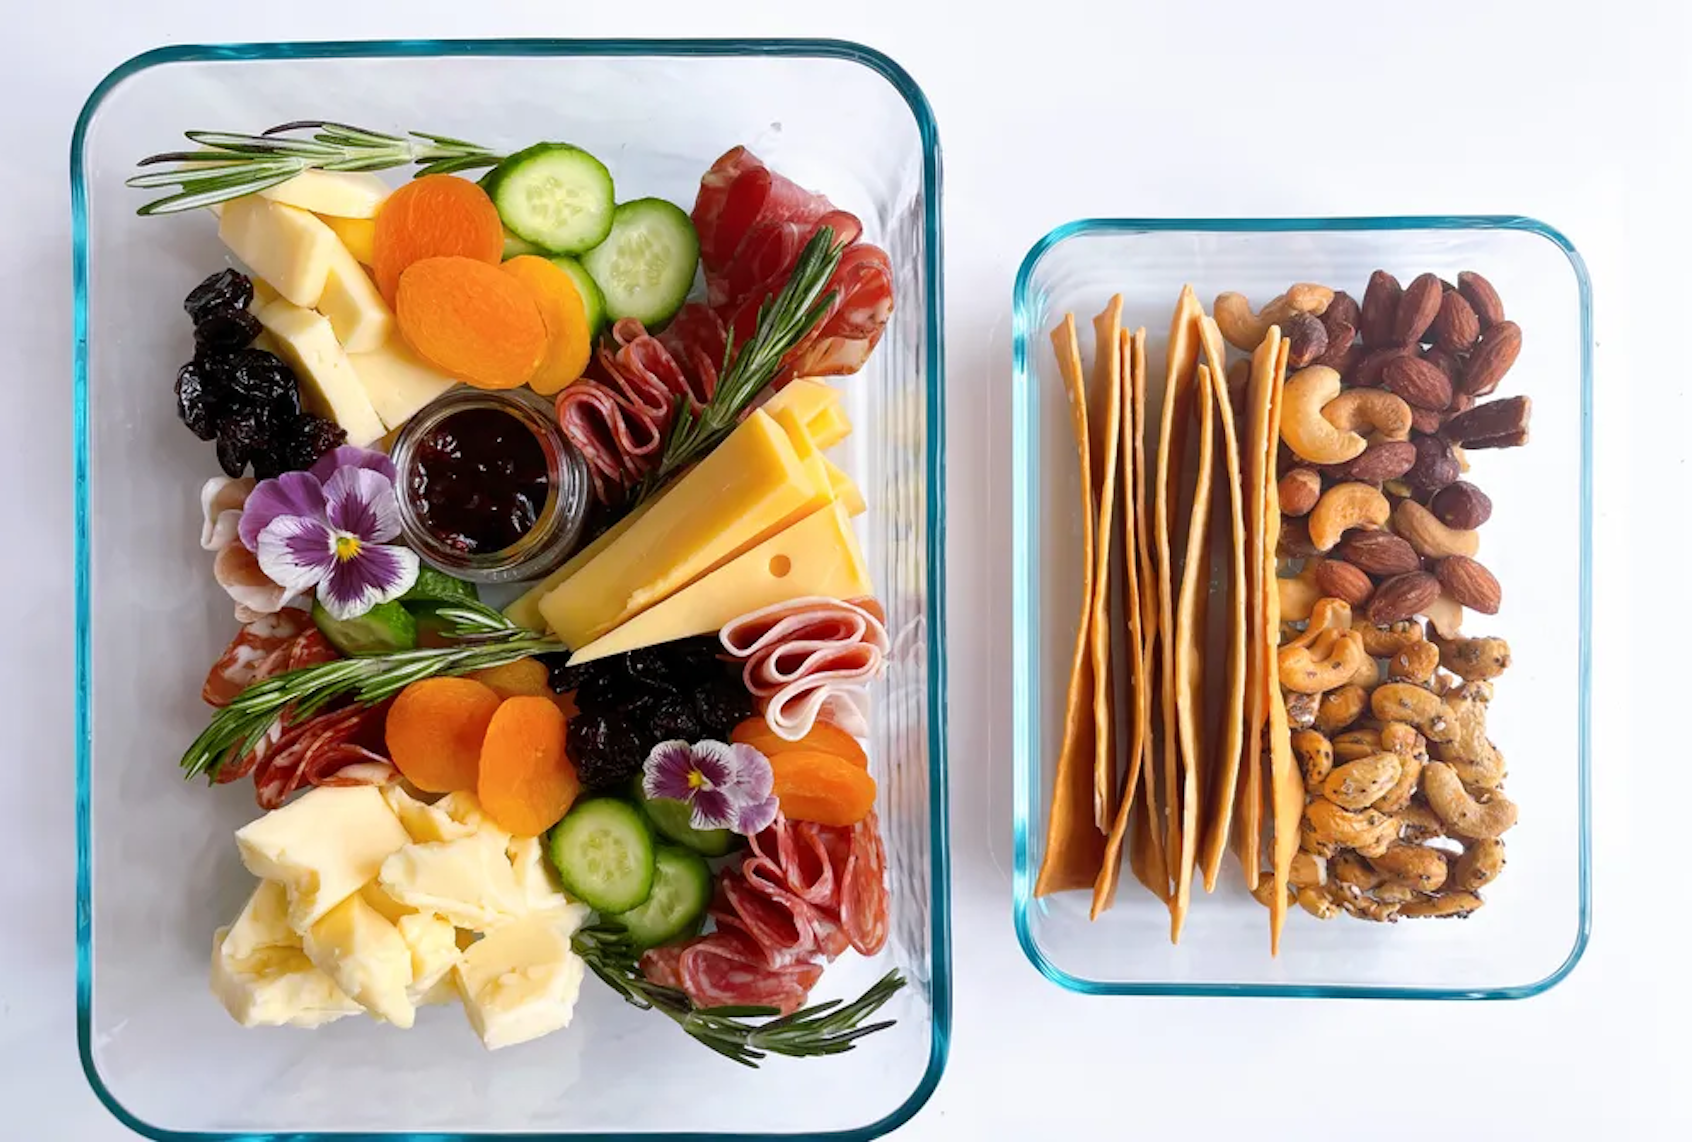
Whether you’re camping, road-tripping, picnicking, or spending time at the beach, a cheese plate by your side is always a welcome snack. I might be biased, but I love enjoying a plethora of great cheese and cured meat in any scenery, all year round. However, my typical, carefully designed plates aren’t exactly simple to transport, especially when planning to enjoy them on the go. To keep your beautiful, cheesy creations intact outside the confines of your home, here are six tips.
1. Pick a secure base
When you’re out and about, forget about fancy platters or boards. I like to build my cheese plate directly in a wide reusable container or to-go box (you can even find boxes made specifically for this use). This way, everything is packed in and ready to eat once you arrive at your destination. It takes some extra work to bring all of the items separately to build on the spot, so arranging the plate beforehand saves a lot of time and eliminates the need for excess supplies, like a cutting board, sharp knife, and extra food packaging.
2. Cut the cheese
The cheese is (obviously) the foundation of any great cheese plate. When you’re traveling, it’s helpful to make sure that you’re packing light. Cutting the cheese is a much easier option than bringing a knife and cutting board to slice on the spot. I like to cut semihard cheeses, like Havarti, aged cheddar, and Gouda, into triangles and cubes so they’re ready for grazing as soon as possible.
3. Plan the meat and produce
I like to prefold the slices of cured meats for easy access once grazing. Sweet soppressata, dried capicola, and prosciutto act as a lovely salty-savory complement to cheese. For produce, I like to reach for fruits and vegetables that provide something sweet and something refreshing, without being overly juicy or delicate — I like cucumbers, dried apricots, and cherries. I recommend staying away from items packed in a brine, like olives or cornichons (unless they’re packed separately), because they can be a bit messy. I’d also avoid tender fruit like berries and peaches, which might bruise in transit.
4. Keep crunchy things seperate
This is an important tip for any to-go cheese board. If you’re bringing only one container, always put crunchy items (nuts, crackers, bread, pretzels) on one side, or around the outer perimeter of the container. They may still get a bit soggy in transit with the fresh ingredients; to avoid this completely, pack all crunchy items in a separate container.
5. Cover any dips
If you’re packing a spread or dip like jam or honey, don’t risk a spill: I like to use small jars with lids to secure everything tightly. You can find a dip packaged in a 2-ounce jar, or purchase some small mason jars or another small airtight containers.
6. Keep things cool
When transporting the board, especially if you’re not planning to eat it for a few hours, make sure to pack it in a cooler bag with an ice pack. You want to keep the cheese and meat in particular as cold as possible in transit. If you’re just taking a short walk, keeping it cool isn’t as necessary, but for any long drives or hikes, it’ll help maintain freshness.


