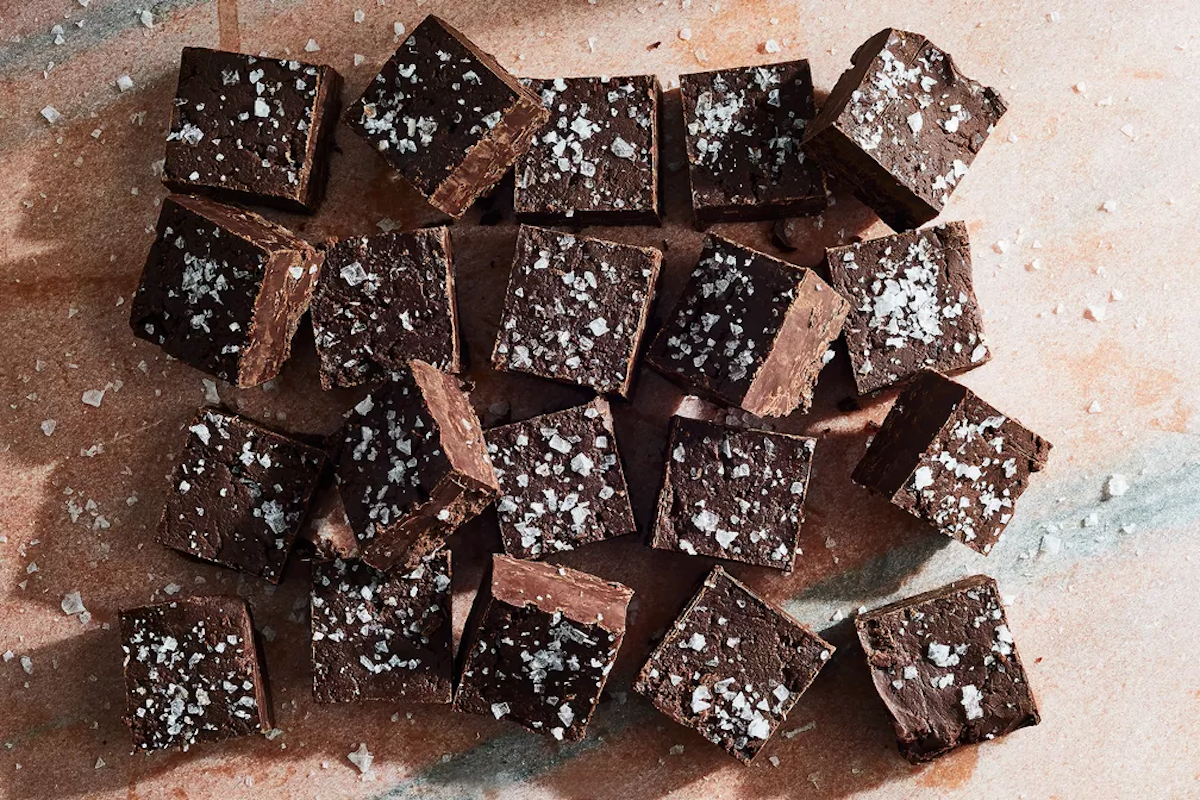
We are firm believers that you don't need an occasion to bake something sweet, whether it be a layer cake worthy of a birthday party or a batch of cookies. The same can be said for fudge. While this confection is often seen displayed in a long lineup of treats at a holiday party, it can and should be enjoyed year-round. But since it's the holidays and you asked, we're here to explain the best way to store fudge, homemade or store-bought, on the counter or in the freezer.
Storing fudge anytime, anywhere
Here's the thing about homemade fudge: It's temperamental. Way more temperamental than most cookies, cakes, brownies and bars, and quick breads, in fact. You need a candy thermometer, good-quality dark chocolate, and a careful eye to make it. Fudge is for all intents and purposes, candy. It's important to store fudge properly to ensure that its creamy texture stays smooth and that its color remains a rich, dark chocolate brown.
Whether you make a batch of homemade fudge or bring home a pound of assorted flavors from the general store, the best way to keep fudge fresh is by transferring it to an airtight container and leaving it stored at room temperature. To keep fudge pieces from sticking to themselves, store the chocolatey layers with waxed paper, which provides a naturally nonstick surface.
Whatever you do, don't put your Chocolate Walnut or Mystic Mud in the refrigerator. The refrigerator will not only alter the texture of your fudge (for the worse), but you always risk it absorbing other flavors floating around on crowded shelves.
How to store fudge in the freezer
But I want to enjoy fudge on the beaches of Miami in March or at Easter brunch or pack it in my child's lunchbox on the first day of school or in my own lunchbox when I have to return to the office in February. Whatever scenario you're picturing in which you'll want to eat homemade fudge a few months after the holiday season, there's a reputable way to go about freezing fudge to extend its shelf life.
Here's how to do it: First, make sure that your fudge is completely cooled. Wrap the fudge tightly, first with layers of wax or parchment paper, and then an exterior layer of aluminum foil. Store the wrapped fudge in an airtight container, which will help prevent freezer burns and ice crystals from forming. If homemade fudge is properly stored, it shouldn't taste any different than when you nibbled on it mid-December. Just don't eat it after a few months and expect it to taste the same: While it is still perfectly safe to consume, the texture and flavor will begin to deteriorate.
This is the same rule of thumb for most baked goods, too. "Use airtight freezer bags, press as much air as possible out of them, and consider slipping them into yet another bag or airtight plastic container. Or use vacuum-sealed bags. Obsessive? Yes, but it helps prevent that telltale freezer flavor," explains Alice Medrich.
***
Prep time: 5 minutes
Cook time: 15 minutes
Makes: 64 1-inch pieces of fudge
Ingredients
- 5 tablespoons unsalted butter
- 20 ounces dark chocolate, chips or finely hand-chopped (I like to aim for 60% cacao or higher)
- 1 (14-ounce) can sweetened condensed milk
- 1 teaspoon espresso powder
- 1/2 teaspoon flaky sea salt (such as Maldon), plus more to taste and sprinkle
Directions
- Line an 8x8-inch baking pan with parchment paper.
- Make browned butter: Add the butter to a small saucepan and set over medium to medium-high heat. Cook, watching like a hawk and stirring occasionally, until it foams, smells super nutty, and the solids at the bottom begin to turn the color of toasted bread. Remove from heat (it'll brown a bit more as it sits) and transfer to a bowl, giving it a stir — let it hang out while you melt the chocolate.
- Melt the chocolate: You can do this in a double boiler, or in a big bowl in short bursts in the microwave. Stir frequently until just melted (keep in mind that as you stir, the chocolate continues to melt).
- Add the browned butter, sweetened condensed milk, espresso powder, and 1/2 teaspoon salt to the melted chocolate, and stir until combined. The mixture will become thick, like wet soil, as you stir. Taste and add another pinch of salt if it's feeling too sweet — but keep in mind, you'll sprinkle a bit more on top to finish the fudge.
- Transfer the thick mixture into the prepared pan and use a damp spatula to smooth over the top as needed (your hand works, too!). Sprinkle the top with a pinch of salt.
- Cover and refrigerate for at least 90 minutes, until set and easily sliceable into 1x1-inch squares. If you're having trouble cutting through the chilled fudge, try using a warm knife: run it under hot water, then dry it off before slicing. Store covered in the fridge for up to a week, or wrap tightly and freeze for a month. This is best served at room temperature.


Shares