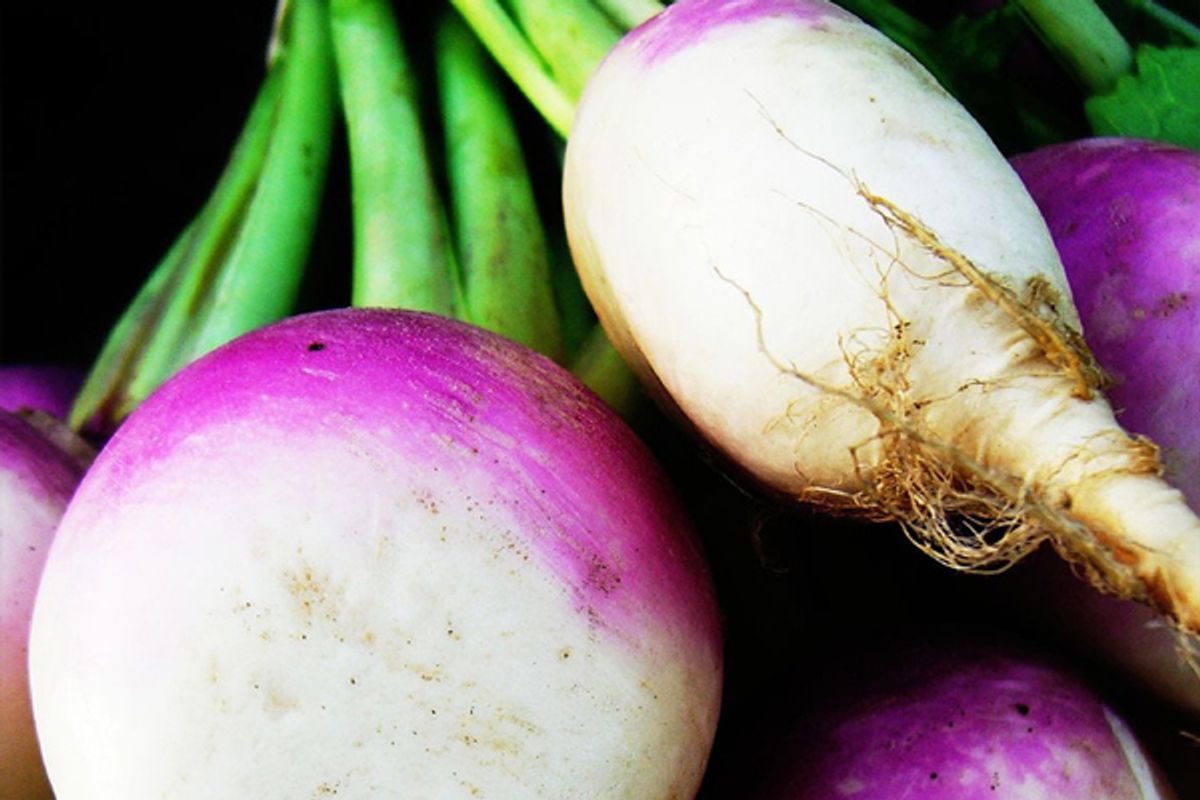
Adapted from Sandor Katz's Wild Fermentation
One of the fun things about making pickles of this sort is that their flavors and depth will evolve as you let them ferment. Try tasting it starting from a few days or a week into the process, and watch how it develops. Once it's at the point where you know you won't want it to go much further, you should pop it in the fridge. Or cook it, and eat it soon.
Also, a note on usage: this stuff is still nice and crunchy and salty out of the pickling pot, but if you like, you can give it a quick rinse in fresh water and squeeze it out to cut down on the salt. Or you can simmer it in water, wine, stock or beer until it's tender to serve as a lovely side to sausages, smoked meat or wherever your mind takes you.
Ingredients
Turnips -- weigh them
1½ tablespoons of Diamond Crystal kosher salt per pound of turnips, or slightly less if using Morton's (if you're using sea or pickling salt, cut it to 2 teaspoons per pound of turnips; avoid iodized salt, which may inhibit the friendly bacteria)
Equipment: a straight-sided crock, a plate that fits in the crock, a weight that will fit on the plate, like a clean jar filled with water, and a towel that can cover all of this (don't use metal for any of this stuff, which might react with the acid that the pickle produces)
Directions
- Clean your gear and hands. Katz's book is inspiring and empowering; where appropriate he punctures the myth that all forms of fermentation need to be done with maniacally sterilized tools in lab settings. He gets you to trust in the friendly bacteria floating all around you, but urges common sense: Make sure you wash you hands well, and your equipment is clean.
- Peel and shred the turnips, using the large holes on a standard box grater. As you're shredding, add some in layers to the crock (honestly, I just use one of those big 2-quart Pyrex measuring cup things), sprinkling the salt on in between layers; try to season it evenly, but don't worry too much about it. Give it a brief stir to even it out.
- Now place the plate on top of the salty turnip, and press down on it to make sure it's making contact and squeezing the turnip a little bit. Place the weight on top of the plate, and give it another good press or two. Cover the whole thing with the towel to protect it from dust, and set it in a cool, darkish corner.
- For the first few days, give the weight/plate a good press or two every few hours, to help expel more brine. The point is to keep the vegetable submerged under the brine that the salt will draw out; as long as it's under brine, mold won't get to it, and our bacterial friends can get to work. It'll bubble a little bit as it ferments. If there is some scummy-looking mold that forms on the surface, just scoop it off. No problem.
- And that's it! Now it's just time -- you can taste and enjoy the turnip at any point, but I find that it starts to develop some interesting flavor at about a week, and starts to get really complex at about two weeks, but that all varies with temperature, etc. (The warmer it is, the faster it ferments.)
For advanced turnipkrauters, Katz also suggests grating other vegetables -- carrots, cabbage, etc. -- into the mix for flavor, or to use herbs or spices of your choice. I like it plain, but give it a whirl!


Shares