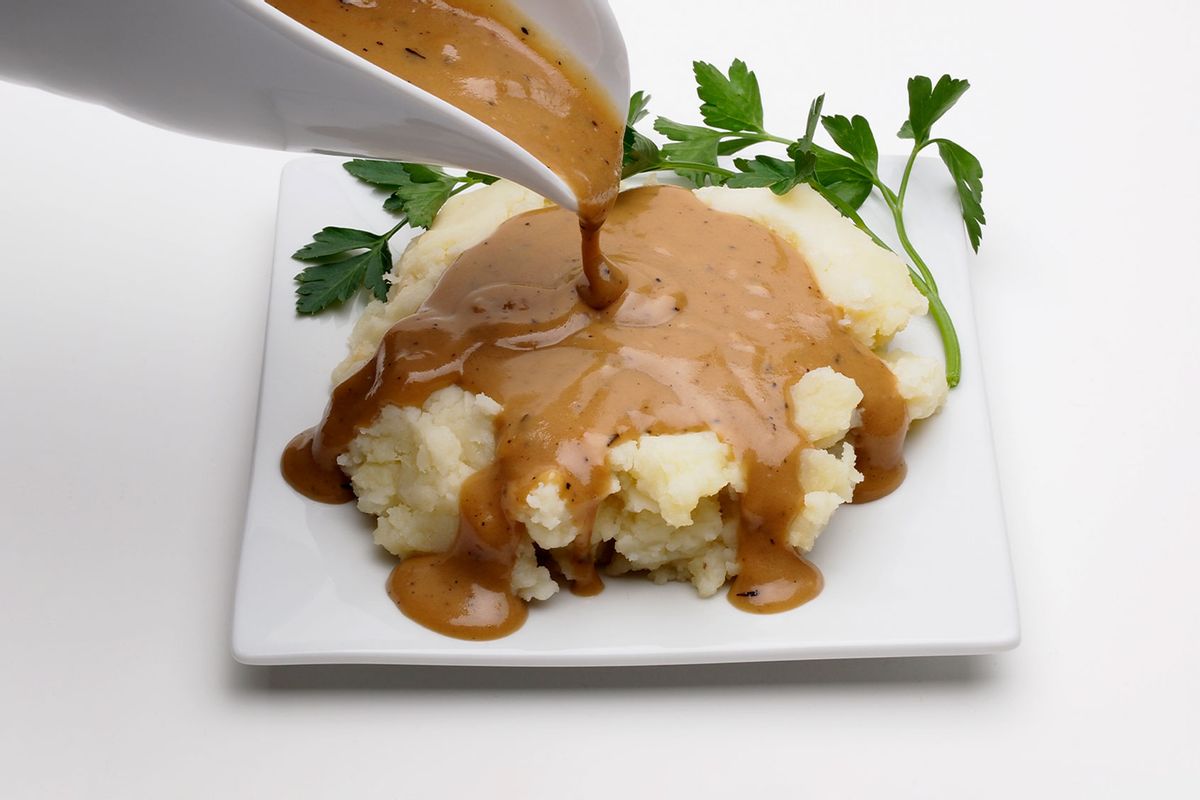
There is quite literally nothing that ties together a Thanksgiving plate like gravy — viscous, caramel-colored and richly flavored, gravy is the anchor which draws each disparate piece together, making the meal a cohesive holiday treat that is anxiously looked forward to year after year. I'd argue that the only item that gravy doesn't have any sort of connection to is the cranberry sauce, though honestly, some errant gravy on your cranberry is no cause for concern. I tend to aim for a very dark, very thick gravy which positively coats every inch of my plate, bridging the gap between the stuffings or dressings, the turkey, the potatoes, the vegetables and anything else that might have a starring role in the Thanksgiving spread. (And let's be frank: a really good gravy is perfect for covering up and elevating dry turkey or middling stuffing.)
Unfortunately, though, I think gravy is actually one of the trickiest parts of the holiday meal stratosphere to truly master. There are so many variables, so many differing tastes and preferences and of course, arguably the largest obstacle: lumps. Perfectly sumptuous and rich gravy that is dotted with lumps of uncooked flour that burst into a cloud in your mouth upon chewing is ... less than ideal.
One simple way to prevent this is to do your darnedest not to think, "Hm, this gravy looks thin ... I should probably sprinkle some flour over top nily wily." If you do, this will almost certainly cause lumps. As Martha Stewart's response to a query about lumpy gravy in The Seattle Times notes, "this is because the starch around each lump of flour expands rapidly when it comes into contact with hot liquid, forming a sort of waterproof gel that prevents that granules from separating properly."
Want more great food writing and recipes? Subscribe to Salon Food's newsletter, The Bite.
This is why it's important to blend the starch or thickener with either water or fat prior to adding to the cooking gravy. A "roux" is a combination of a fat (like butter) and a thickener (like flour), while a "slurry" is a combination of a liquid and a thickener.
In order to ensure that this issue doesn't befall you later this week, follow these steps for a smooth, enriching gravy that will highlight each component on your plate.
Ingredients
3 tablespoons fat from roasting pan, unsalted butter, or oil*
3 tablespoons all-purpose flour*
2 1/2 to 3 cups turkey drippings, stock, or broth
Kosher salt
Freshly ground black pepper
Unsalted butter and/or heavy cream, optional
Directions
- Carefully, remove the cooked turkey from your roasting tray and let it rest, tented, on a serving platter. Also carefully, pour off all of the liquid from the roasting pan into your largest measuring cup, of if you have one, a fat separator. If you have lots of detritus at the bottom of your pan, be sure to use a fine mesh strainer to catch all the cooked carrots, celery, garlic cloves, lemon halves, giblets, turkey neck, etcetera.
- Let the mixture sit. It will naturally separate the fat and the "juices." Simply skim the fat to your best availability, or, if you have a fat separator, let the tool do its trick. Another helpful tip is to refrigerate or even freeze it for a bit, which will make the task even easier when working with skimming solidified fat.
- Right in your turkey roasting pan over 2 burners set at medium or medium-high heat, add turkey fat drippings, butter, or oil and flour, whisking them together. Let the mixture cook, whisking throughout, until the smell turns slightly toasty and the white flour has taken on more of a brown note. This should take 2 to 3 minutes.
- Begin pouring your stock or turkey drippings, turning the heat to medium or even medium-low, whisking throughout, until its simmered and thickened considerably. You're aiming for nappe here, meaning that your gravy is thick enough to coat your spoon and the liquid doesn't just run off when you lift if out of the gravy.
- When the consistency is ideal, add pats of butter, a touch of cream (if you'd like) and salt and pepper to taste. Keep in mind that this is an item that is intended to bolster and further flavor other components, so you don't want this to blow out anyone's palate with flavor, salinity, sharpness, etc. As usual, be very judicious with your salting: depending on how your turkey was prepped and seasoned, as well as if used any salted butter in the whole shebang, your gravy may already be perfectly seasoned.
Cook's Notes
— I wrote this recipe envisioning that you had just roasted a turkey and you now have a roasting pan with a ton of juices, fats and deeply browned accoutrements on the bottom of the rack. If you do not have this, then feel free to start this process with straight-up fat (unsalted butter is best), the thickeners of your choosing and a ton of stock.
— If you're not a roux person, feel free to instead opt for a slurry, which is a few tablespoons of cornstarch (or arrowroot) blended with a generous amount of water and then gradually stirred into a simmering liquid. This method would complete replace the roux, so you'd be able to skip the entirety of step
— I like a pretty minimalist turkey gravy that is robustly flavored, but some miscellaneous inclusion that others might opt for to really take this up another notch are Dijon mustard, a few splashes of wine before adding the stock, sharper notes like soy sauce, fish sauce, or Worcestershire, fresh or dried herbs, warming spices like nutmeg or allspice, etc. miscellaneous:
— If, after all is said and done, you still have lumps, do not fret. Simply strain them out with a wire mesh or fine mesh strainer, or even blend the gravy in a high-powdered blender or food processor.


Shares